下载地址
https://www.elastic.co/downloads/kibana
安装
直接解压到 /usr/local/kibana-5.2.2-linux-x86_64
配置
|
1 2 3 4 5 |
vim /usr/local/kibana-5.2.2-linux-x86_64/config/kibana.yml server.host: "192.168.1.18" elasticsearch.url: "http://192.168.1.18:9200" |
测试
|
1 2 3 4 5 6 7 8 9 10 11 |
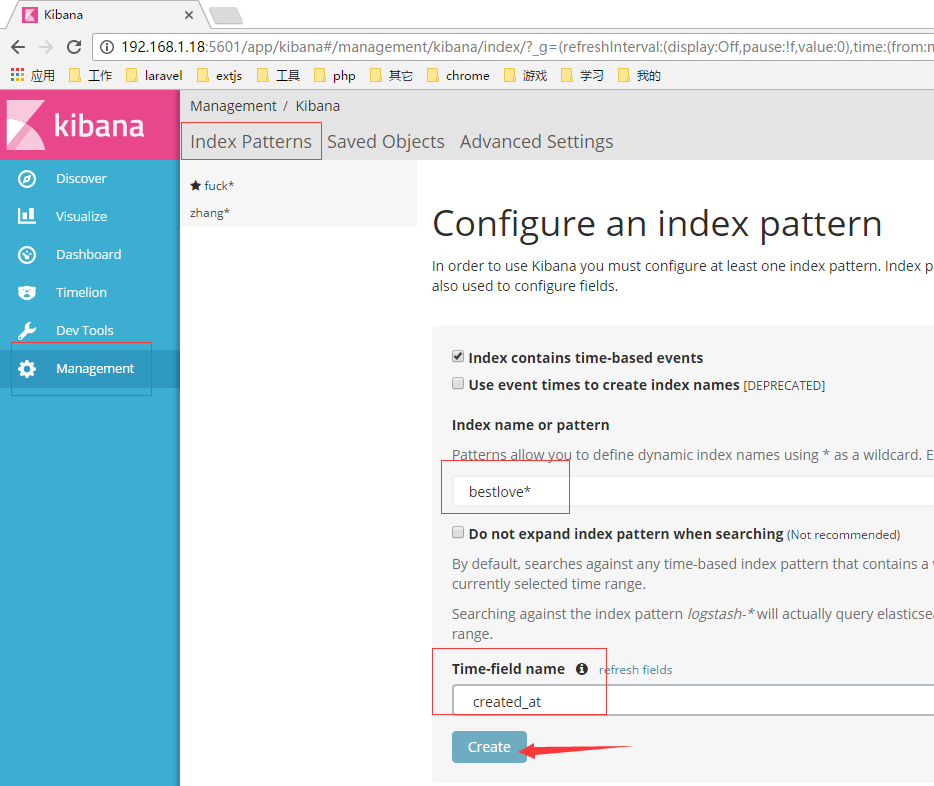
# 启动elasticsearch cd /usr/local/elasticsearch-5.2.2/bin ./elasticsearch # 启动kibana cd /usr/local/kibana-5.2.2-linux-x86_64/bin/ ./kibana # 目前跟logstash没有任何关系,直接使用curl新增测试数据 # 时间字段必须加上,否则kibana中无法配置索引模式 curl -XPOST 'http://192.168.1.18:9200/bestlove/test' -d '{"title":"测试标题","content":"测试内容","created_at":"2017/03/26 01:53:22"}' |

nginx代理
如果要在外网访问kibana的,最好通过nginx代理,这样的话可以加个账号密码,相对来说安全点吧
|
1 2 3 4 5 6 7 8 9 10 11 12 13 14 |
server { listen 80; server_name www.fengfeng.com; location / { auth_basic "secret"; auth_basic_user_file /data/nginx/passwd.db; proxy_pass http://192.168.1.18:5601; proxy_set_header Host $host:5601; proxy_set_header X-Real-IP $remote_addr; proxy_set_header X-Forwarded-For $proxy_add_x_forwarded_for; proxy_set_header Via "nginx"; } access_log off; } |
生成密码
|
1 2 3 4 5 6 7 8 9 |
htpasswd -c /data/nginx/passwd.db yourusername # 如果不存在htpasswd命令 yum install httpd /etc/init.d/nginx restart /usr/local/elasticsearch-5.2.2/bin/elasticsearch -d nohup /usr/local/kibana-5.2.2-linux-x86_64/bin/kibana </dev/null &>/dev/null & |